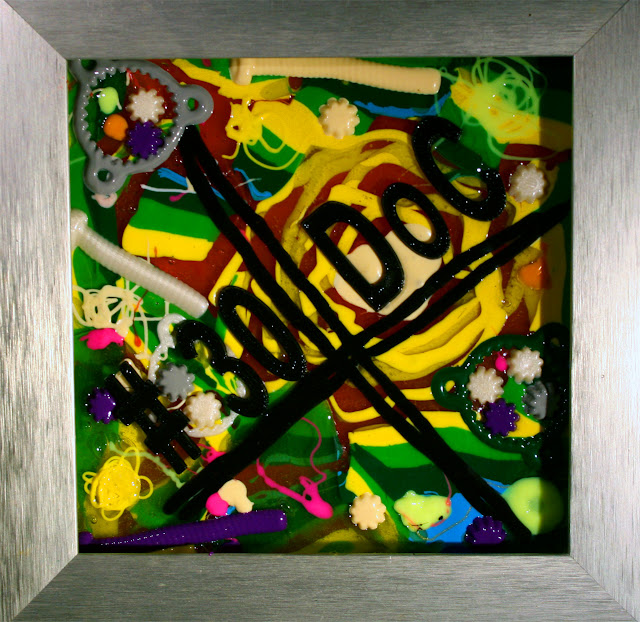
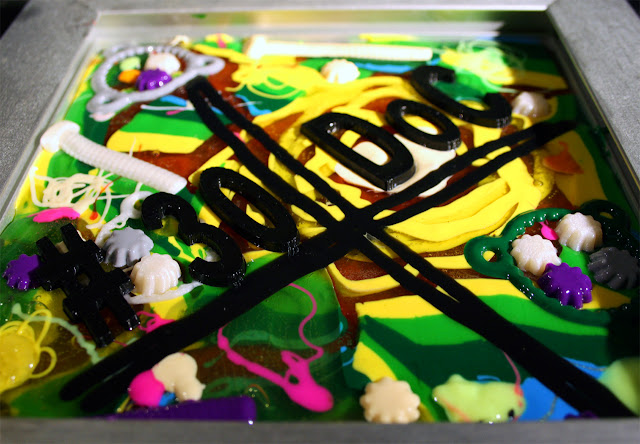
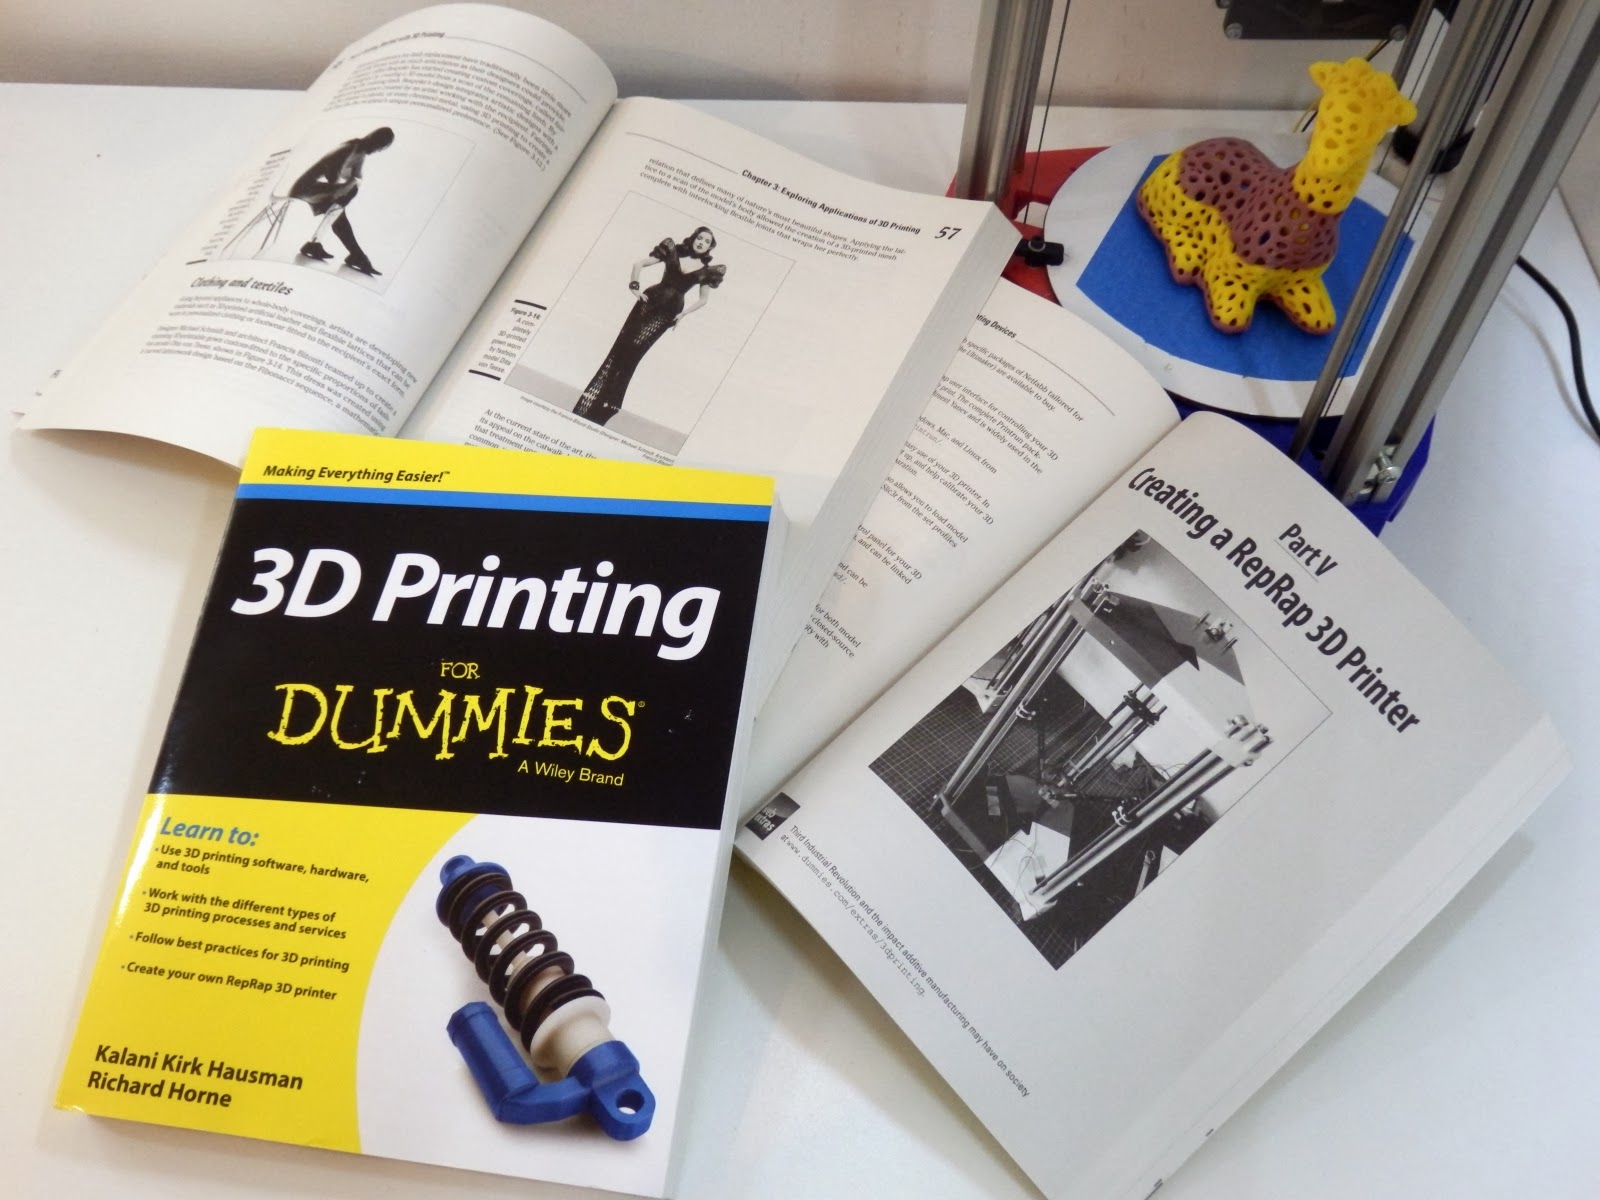
I have the excellent job of judging the RepRap Printing competition this week. So for Day 8 of my 30 days of creativity ( #30DoC ) as this is the last day in the competition I thought it was only fitting to share all the amazing creative work done by everyone who entered this week, I have been totally stunned with all the great prints, effort and advice this competition is bringing to the RepRap 3D printing community.
And I'm doing this blog post to help me collect the results so it's easier to see all the great work, and it should make the job of judging a little easier.
The Challenge! -
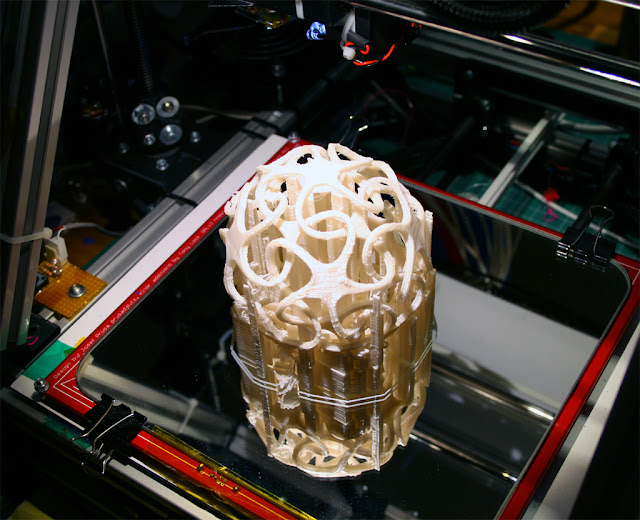
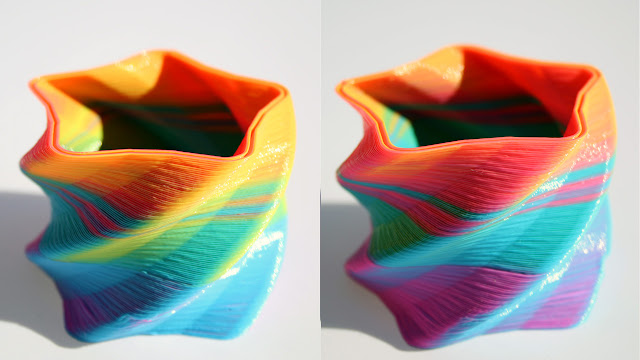
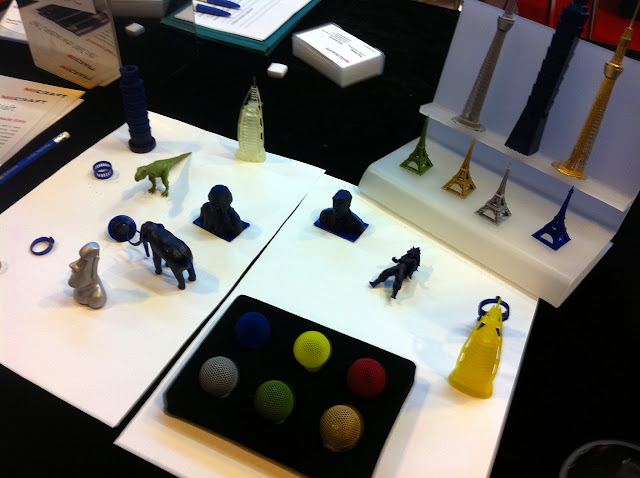
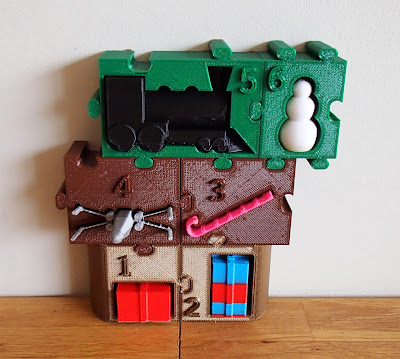
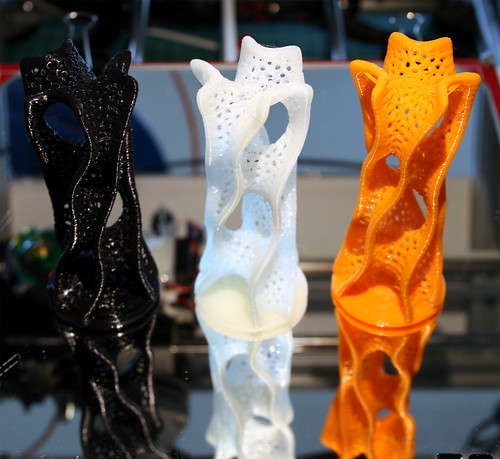
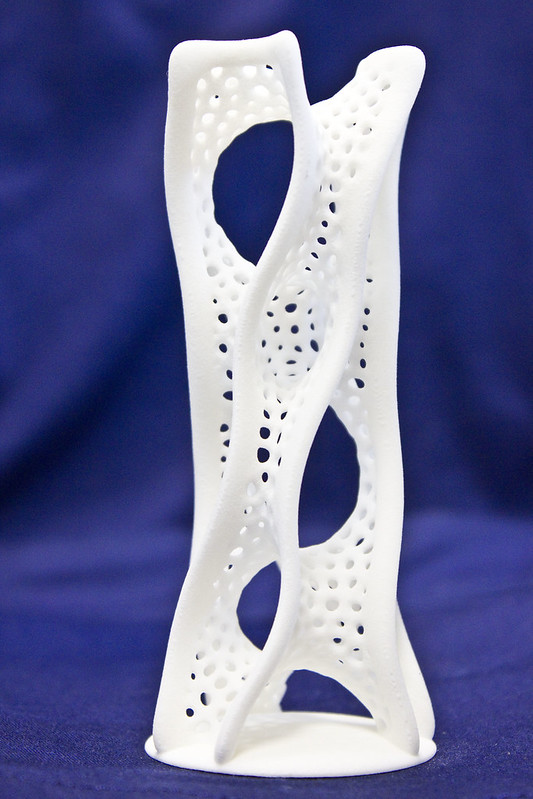
Was to print a half sized & quarter resolution version of the great Voronoi D Tower - Math Art by @Dizingof I made a Derivative version to print here on Thingiverse and my original Forum post to start the competition is Here.
![]()
Dizingof's Math art is a stunning collection of very hard to print, but amazing models that use mathematical algorithms to generate 3D structures. I didn't realise at the time when I selected this model for the competition that is had a particular connection to RepRap. The inventor of RepRap - Adrian Bowyer pointed out that this particular model is using 3D Voronoi structures and Adrian apart from being famous for RepRap is very famous for the Bowyer-Watson Algorithm, which is one of the standard ways of computing multidimensional Voronoi diagrams.
No Rules this week *
* You can use my Derivative or the Original version or print it at a different size to my derivative, just make sure you state what size and version it was and whatever speed and layer height you like.
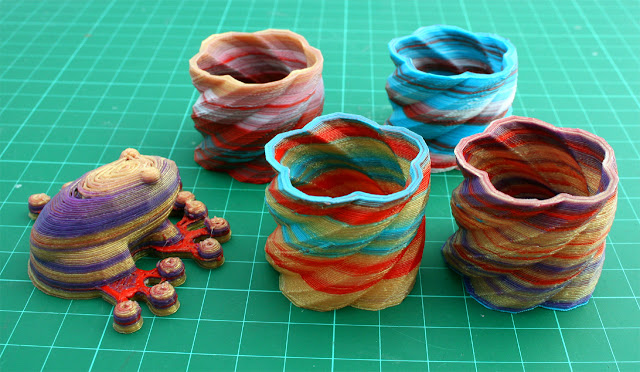
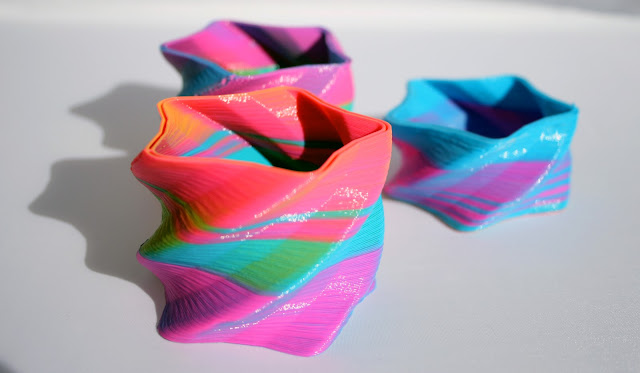
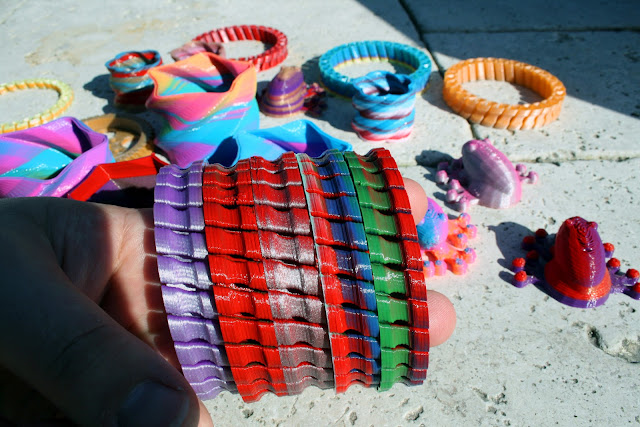
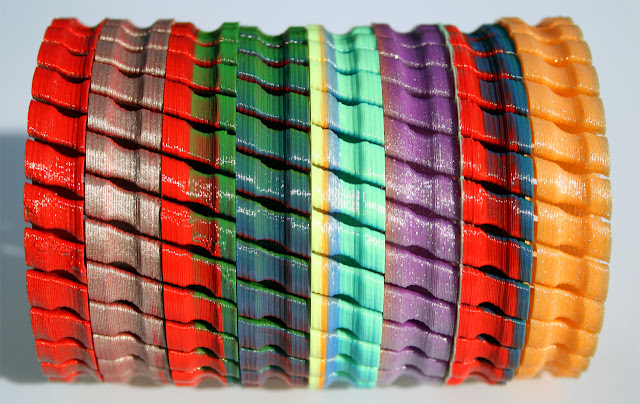
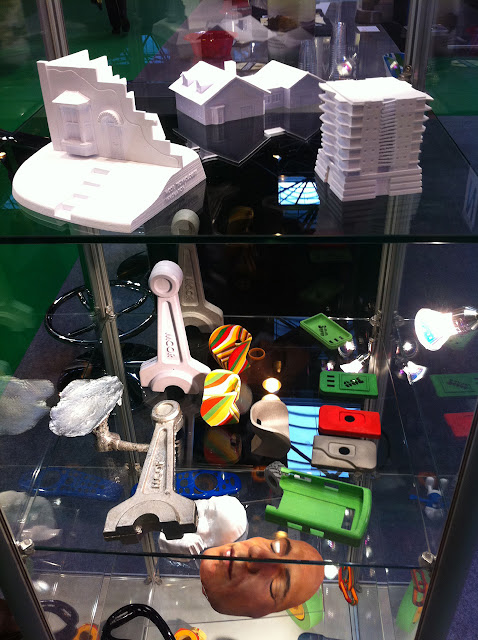
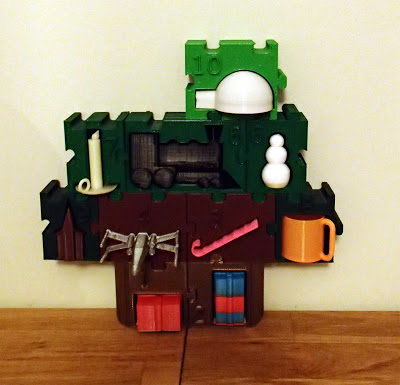
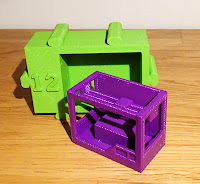
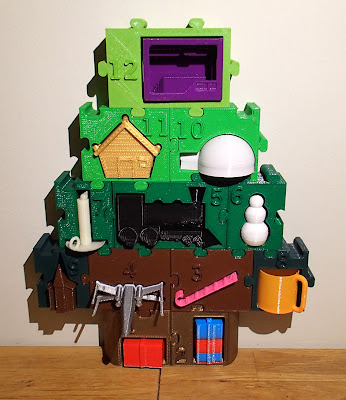
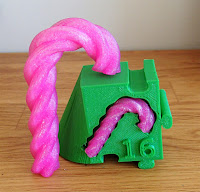
The Entries -
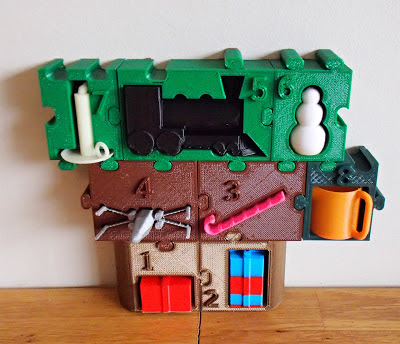
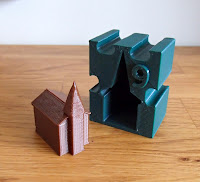
Photos, details and images below are by their respective entrants in the competition.
![]()
![]()
![]()
![]()
Retraction: 2 mm len, .5 mm lift, 25 mm/s speed, 0 extra len, 2 mm travel after retraction
Print Settings: 3 perimeters, 4 solid layers .25 fill density, 45 deg fill, rectilinear fill and solid fill patterns, random starting points, Cooling fan on extruder
Printer: .5mm nozzle, Mach3/EMC gcode
Filament: 1.69mm, 1 multiplier, 205 deg C extruder, 110 deg C hot bed
Print speed: 20 mm/s perimeters, 15 mm/s small perimeters, 60 mm/s infill, 30 mm/s solid infill, 20 mm/s bridges
Other speed settings: 300 mm/s travel, .5 bottom layer ratio - Took 1 hr 58 minutes to print.
![]()
![]()
![]()
![]()
![]()
![]()
![]()
![]()
![]()
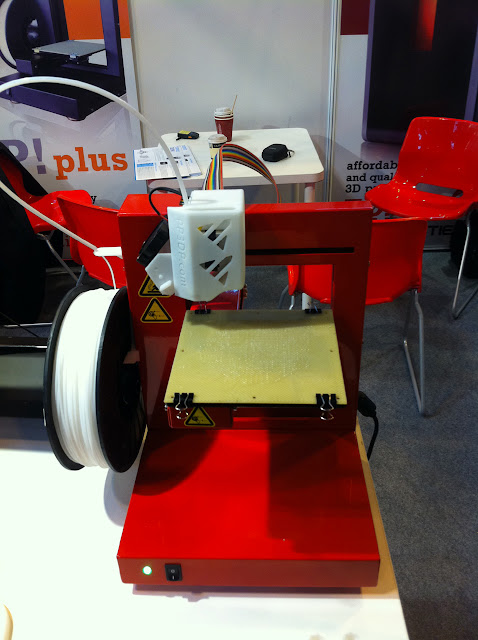
WoW! I hope I didn't miss anyone out, what an amazing collection of prints, machines and settings, I love them all.
The wonderful people over at Faberdashery are offering a £40 voucher to spend at www.faberdashery.co.uk on their Awesome PLA for the winner again this week!
I'm really thinking we will need a dedicated section for Competition printing, Maybe we can talk nicely to one of the RepRap Admins to get us a dedicated forum under fabrication?
And it true competition style, I'm going to sleep on the decision, so I'll update with the winner in the morning. Thanks to everyone that entered this round, make sure you enter again next week for more challenging fun!
*EDIT* -
The winner this week -
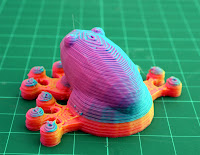
It was a very close competition this week and a difficult decision, but after reviewing all the entries I'm going to select billyzelsnack as this week's winner.
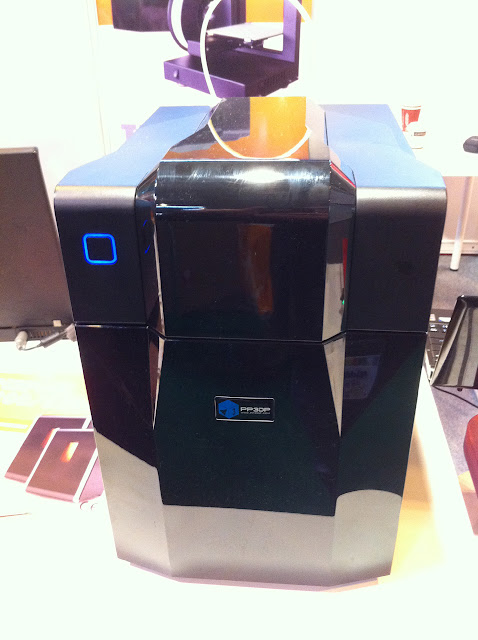
Billy's entry made me think and really stuck in my mind - it was printed with the Printxel, one of the lowest cost RepRap printers currently available. And the fact is was done with quite thick layers (0.33) and all the holes came out so well is a great achievement, the base is very good and it made me checkout the Kisslicer, very impressive.
I'm also highly impressed to see so many excellent ABS prints, especially benosteen done without a heated bed! so that get's a 'highly commended' award and almost pipped Billy's entry to the winning spot.
Over to you Billy - select us a good challenge for next week, and enjoy your great Faberdashery filament.
I would recommend starting a new thread for each week's competition, now that we have a dedicated forum section - thanks Rhys for setting it up.
*EDIT* -
Thanks for reading everyone,
Rich.
![]()
And I'm doing this blog post to help me collect the results so it's easier to see all the great work, and it should make the job of judging a little easier.
The Challenge! -
Was to print a half sized & quarter resolution version of the great Voronoi D Tower - Math Art by @Dizingof I made a Derivative version to print here on Thingiverse and my original Forum post to start the competition is Here.

Image by @Dizingof
Dizingof's Math art is a stunning collection of very hard to print, but amazing models that use mathematical algorithms to generate 3D structures. I didn't realise at the time when I selected this model for the competition that is had a particular connection to RepRap. The inventor of RepRap - Adrian Bowyer pointed out that this particular model is using 3D Voronoi structures and Adrian apart from being famous for RepRap is very famous for the Bowyer-Watson Algorithm, which is one of the standard ways of computing multidimensional Voronoi diagrams.
No Rules this week *
* You can use my Derivative or the Original version or print it at a different size to my derivative, just make sure you state what size and version it was and whatever speed and layer height you like.
The Entries -
Photos, details and images below are by their respective entrants in the competition.
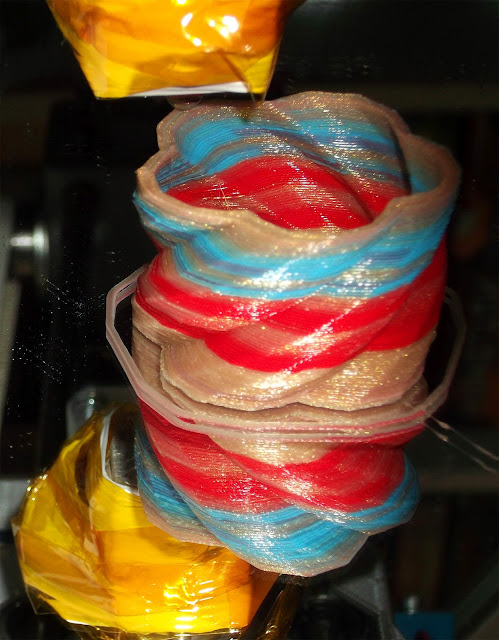
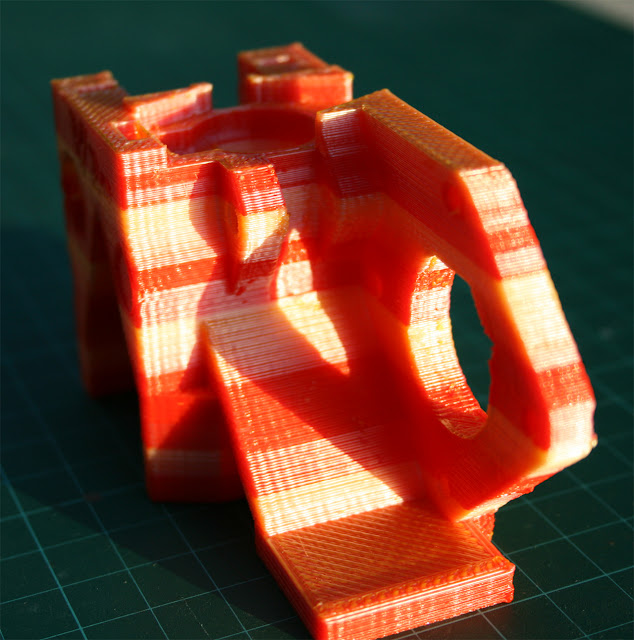
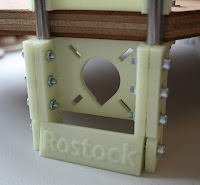
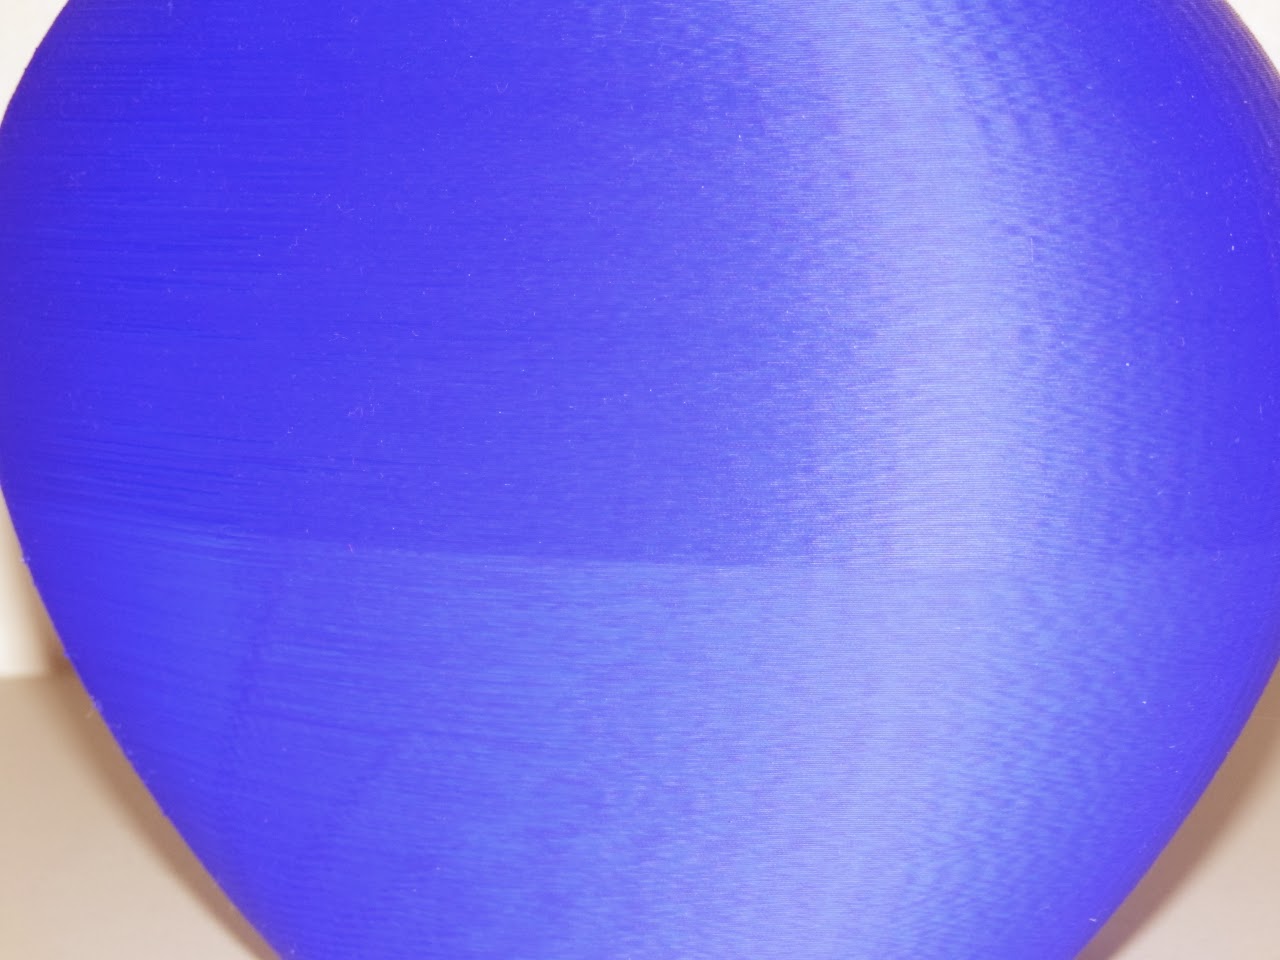
Me, (RichRap) - Just to get some printing ideas going - Slic3r and Skeinforge prints, one was without any retraction at all!

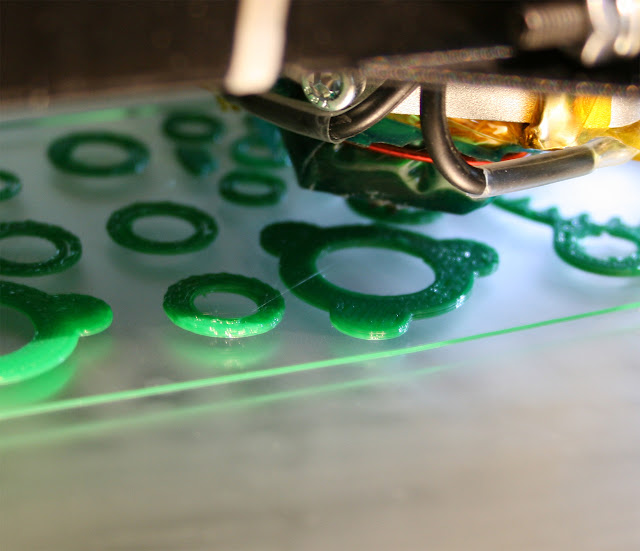
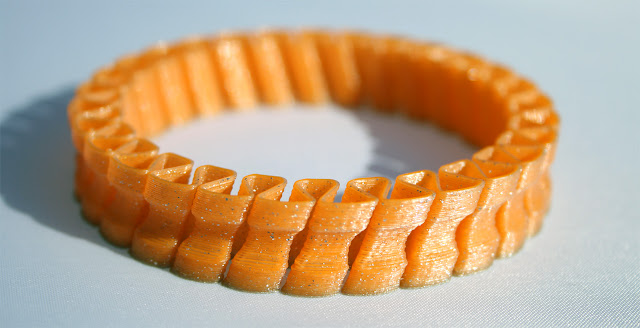
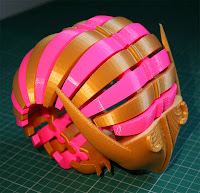
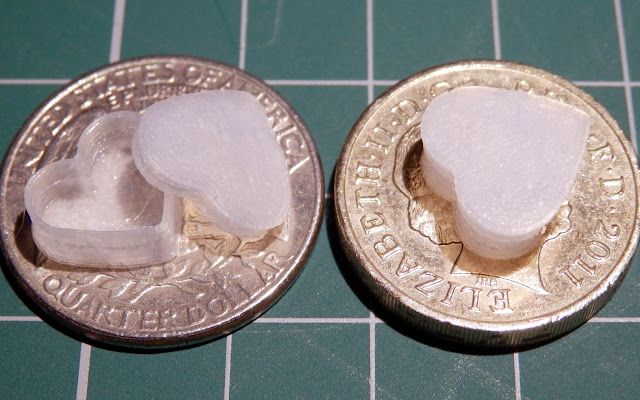
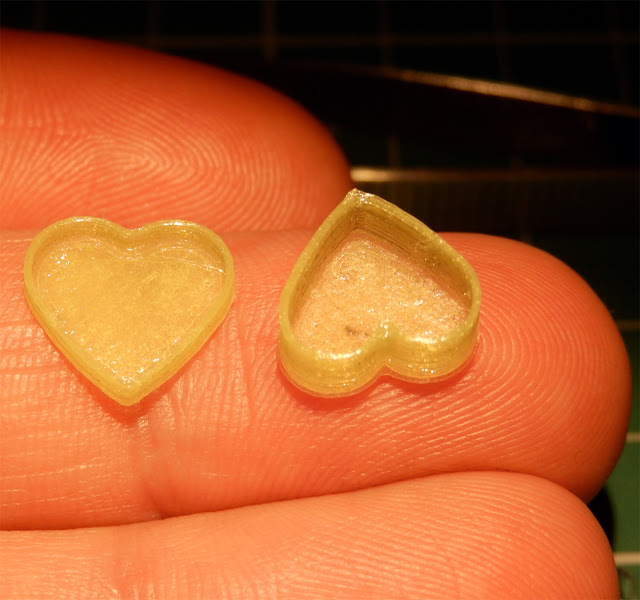
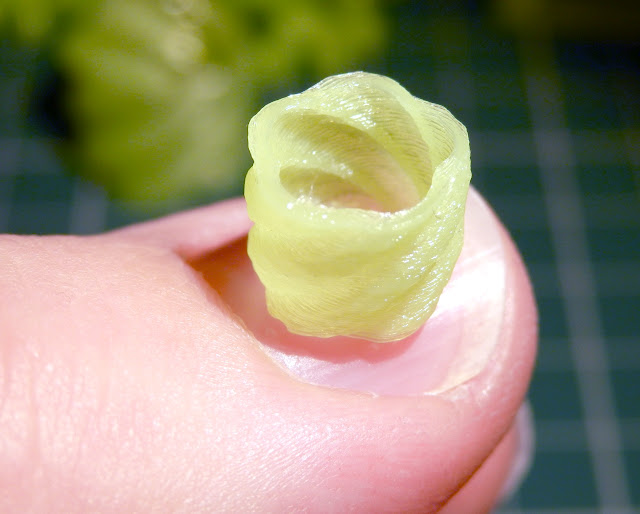
Leeway - Gold PLA print, no Heated bed
.2 layer height, 3 perimeters and solid fills @45%. Sliced with Slic3r 0-8-2. Temp. 180 C
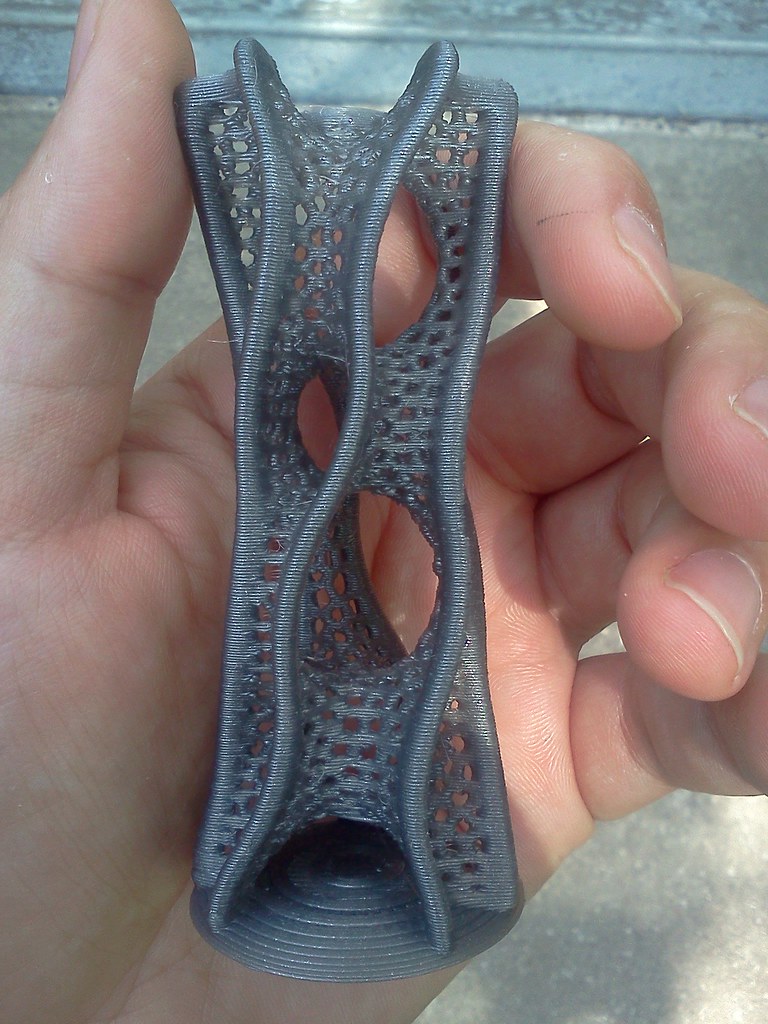
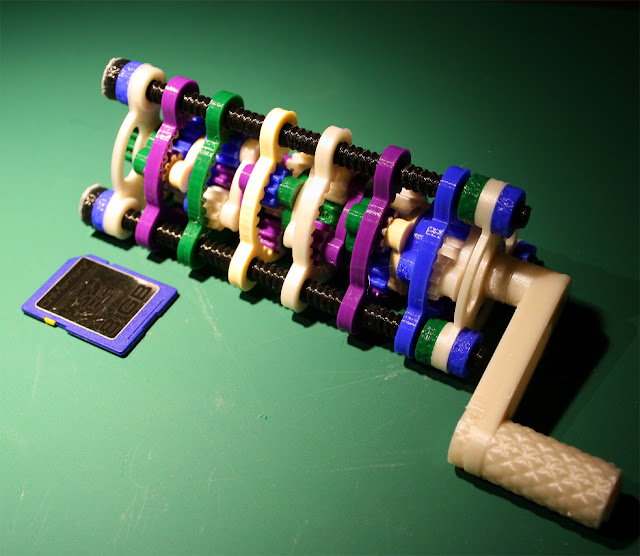
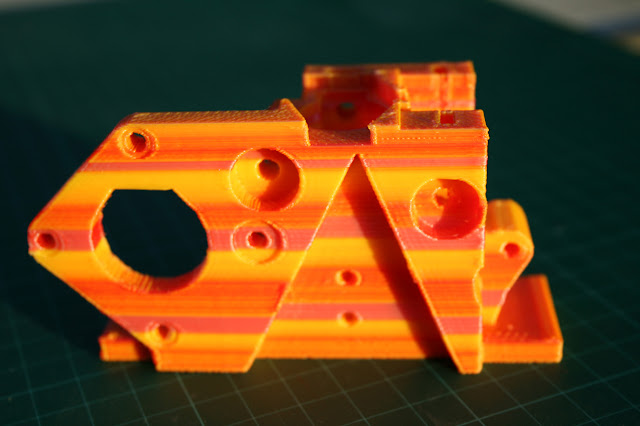
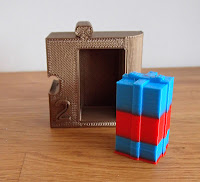
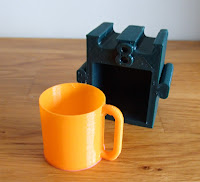
billyzelsnack - Printxel. KISSlicer 0.33 layers. Overhead 40mm fan. 20mm/s. 2mm retract. 25mm/s retract speed. 10mm wipe. 1h18m estimate. 1h57m actual.

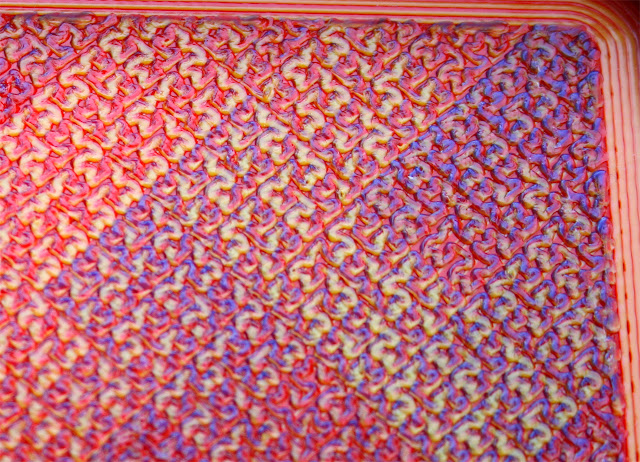
mhackney - Sliced in Slic3r 0.8.2
Accuracy: .2mm layer height, 1 first layer ratio, infill every 1 layer Retraction: 2 mm len, .5 mm lift, 25 mm/s speed, 0 extra len, 2 mm travel after retraction
Print Settings: 3 perimeters, 4 solid layers .25 fill density, 45 deg fill, rectilinear fill and solid fill patterns, random starting points, Cooling fan on extruder
Printer: .5mm nozzle, Mach3/EMC gcode
Filament: 1.69mm, 1 multiplier, 205 deg C extruder, 110 deg C hot bed
Print speed: 20 mm/s perimeters, 15 mm/s small perimeters, 60 mm/s infill, 30 mm/s solid infill, 20 mm/s bridges
Other speed settings: 300 mm/s travel, .5 bottom layer ratio - Took 1 hr 58 minutes to print.

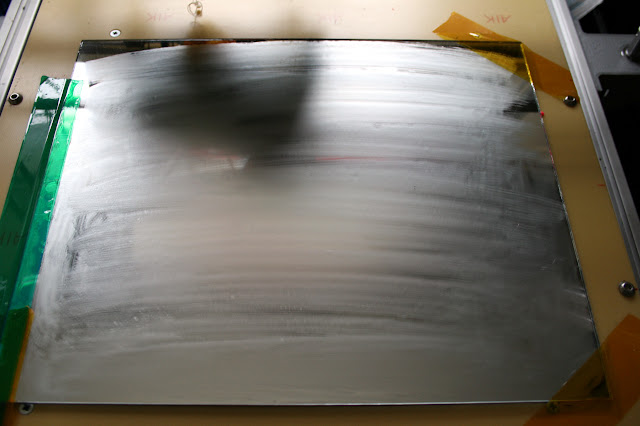
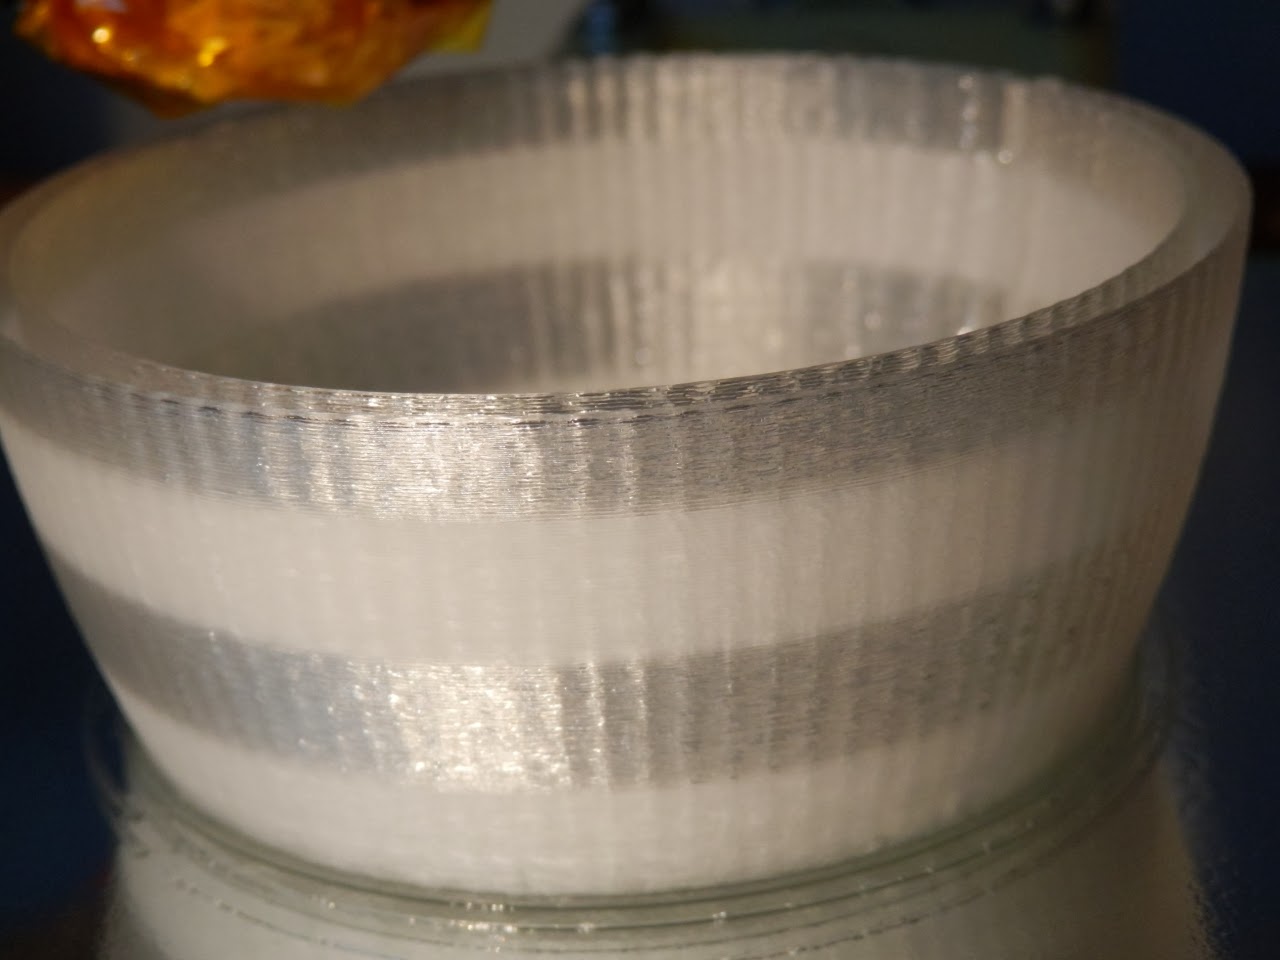
benosteen - 0.25mm layers in natural cream ABS.
On tape prepped w/ a layer of glue (no hot bed or fan)

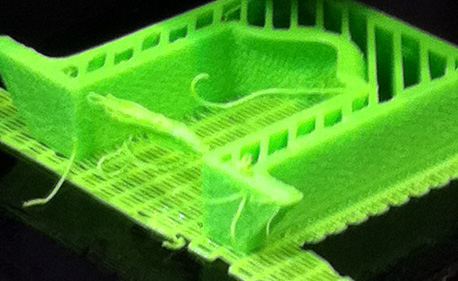
Hoani.cross - Printed in 1h45min
[*] 0.3mm layer height
[*] 20/40/60mm/s for small perimeters/perimeters/infill
[*] 1mm retraction length at 7mm/s with 0.3mm z-lift
[*] 70% line infill
[*] 2 perimeters, 3 solid layers
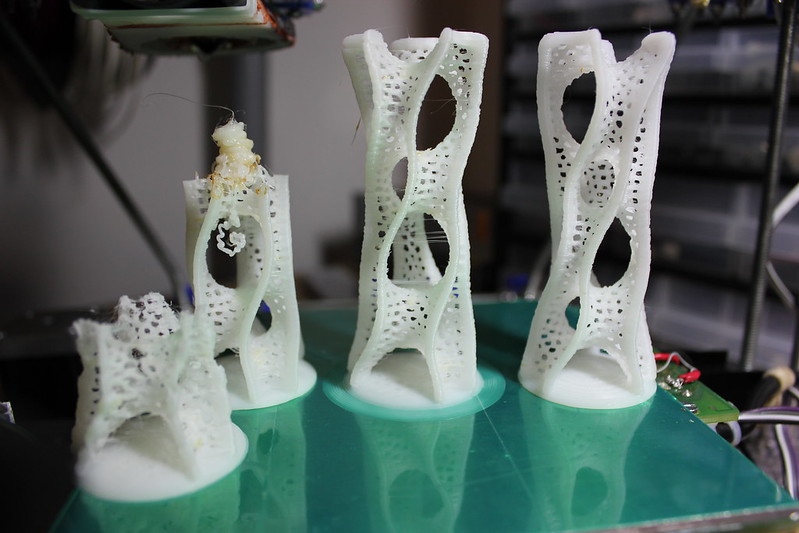
Hoani.cross - 2nd Try and failed attempts (Really great to also see the failures! thanks)

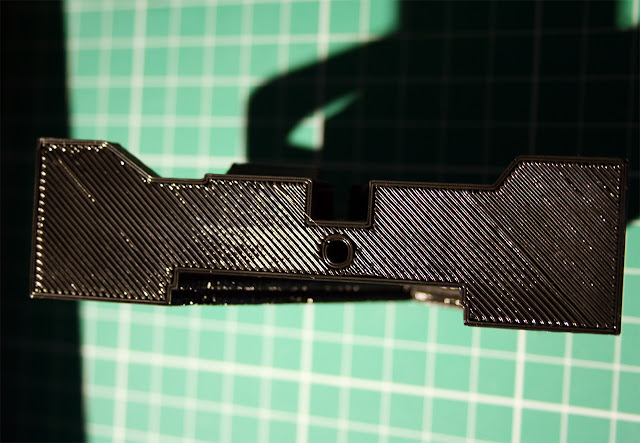
PharoahsMummy - Print time: 1h:25m
Material used is ABS, heated bed was on at ~110C and nozzle running ~210C.
Almost no to little cleanup.
SeeMeCNC H-1.0 kit
Slic3r settings:
; layer_height = .20
; perimeters = 2
; solid_layers = 4
; fill_density = .25
; nozzle_diameter = 0.50
; filament_diameter = 1.8
; extrusion_multiplier = 1
; perimeter_speed = 20
; infill_speed = 20
; travel_speed = 120
; extrusion_width_ratio = 0
; scale = 1
; single wall width = 0.70mm

By Bean - In PLA

Euhedral -
Printed on an orca 0.40 in PLA.
No cleanup.
Took 2.5 hours to print.
; layer_height = 0.2
; perimeters = 3
; solid_layers = 4
; fill_density = 0.125
; nozzle_diameter = 0.35
; filament_diameter = 1.7
; extrusion_multiplier = 1
; perimeter_speed = 20
; infill_speed = 75
; travel_speed = 500
; extrusion_width_ratio = 1.535
; scale = 1
; single wall width = 0.31mm

Guillem Tena (RepRapBCN Team) - printed with ABS in a Prusa Mendel 

It is sliced on Slic3er 0.8.2.
We choose an accuracy of 0.2mm layer height as slic3r had problems slicing at 0.15mm.
For the construction we put two towers side by side in order to enable each layer to cool easily.
The temperature for the estruder was 222ºC on the first layer and 220ºC for the rest, and 80ºC for the hot bed during all the construction.
The print speed have been quite slow, by 20mm/s on the perimeters, slowing it down on the small ones to 15 and 30mm/s on the infill.
RepRapBCN - Professional SLS print !!
Part made in our Vanguard 2500. 0,1mm/layer and horizontal oriented.

juslem - Print time was 1:52:04 -
Unmodified STL from "Print competition Voronoi D Tower 1/4 res 1/2 size by @Dizingof"
Slic3r + Prusa Mendel + Marlin
0.25 layers, 25mm/s, 3 perimeters, 0.5 infill, on glass, bed temps first layer 60, next ones 50
The wonderful people over at Faberdashery are offering a £40 voucher to spend at www.faberdashery.co.uk on their Awesome PLA for the winner again this week!
I'm really thinking we will need a dedicated section for Competition printing, Maybe we can talk nicely to one of the RepRap Admins to get us a dedicated forum under fabrication?
And it true competition style, I'm going to sleep on the decision, so I'll update with the winner in the morning. Thanks to everyone that entered this round, make sure you enter again next week for more challenging fun!
*EDIT* -
The winner this week -
It was a very close competition this week and a difficult decision, but after reviewing all the entries I'm going to select billyzelsnack as this week's winner.
Billy's entry made me think and really stuck in my mind - it was printed with the Printxel, one of the lowest cost RepRap printers currently available. And the fact is was done with quite thick layers (0.33) and all the holes came out so well is a great achievement, the base is very good and it made me checkout the Kisslicer, very impressive.
I'm also highly impressed to see so many excellent ABS prints, especially benosteen done without a heated bed! so that get's a 'highly commended' award and almost pipped Billy's entry to the winning spot.
Over to you Billy - select us a good challenge for next week, and enjoy your great Faberdashery filament.
I would recommend starting a new thread for each week's competition, now that we have a dedicated forum section - thanks Rhys for setting it up.
*EDIT* -
Thanks for reading everyone,
Rich.
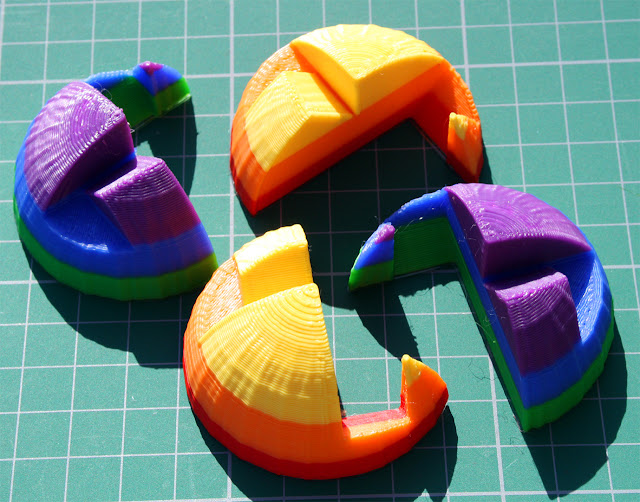
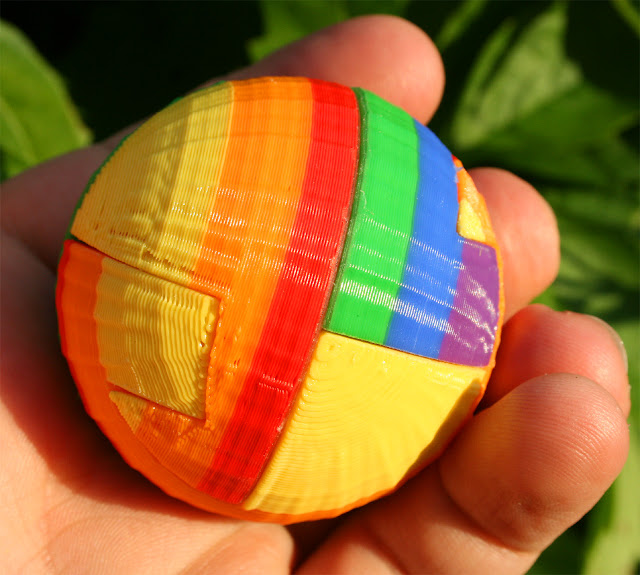
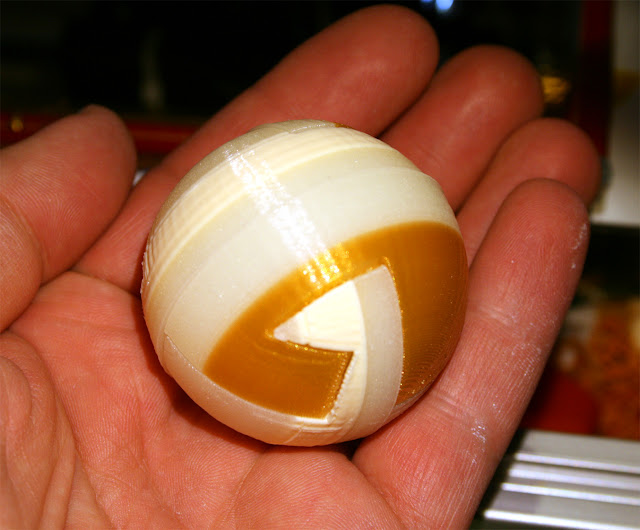
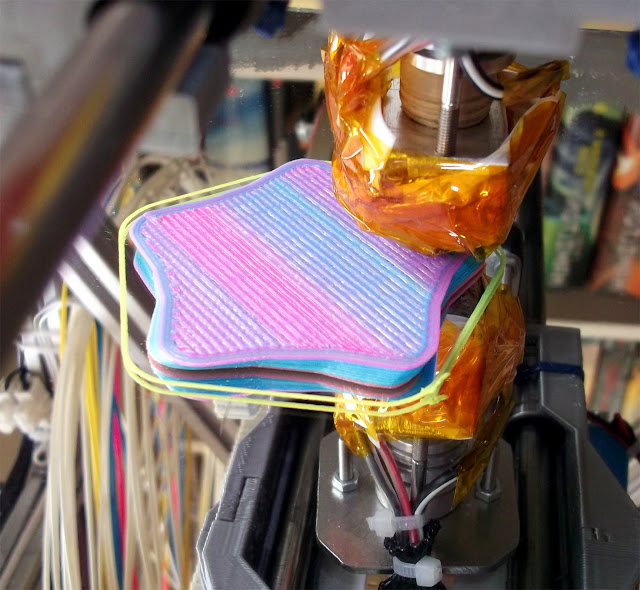
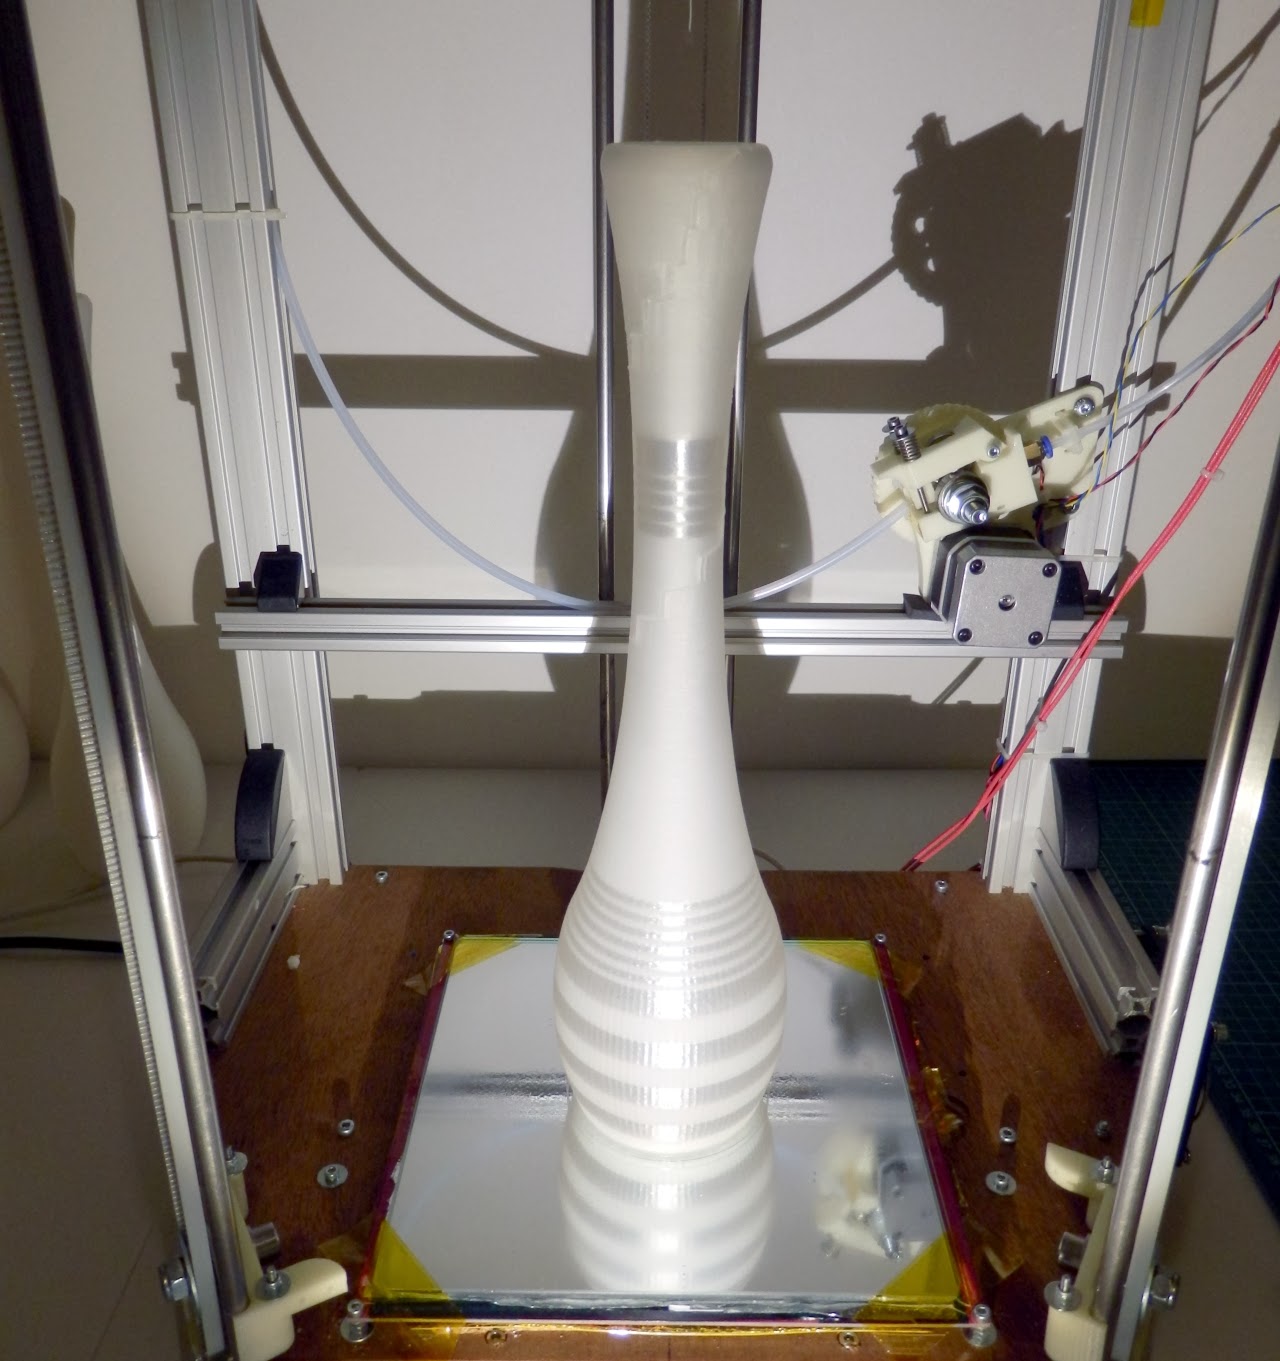
P.S. - Another of my challenging goals at the moment is to print the Ball of Stars by @Dizingof, my latest attempt just finished seconds ago as I got to the end of writing this post - Using new support settings courtesy of Jean-Marc of RepRapPro (Thanks again) I have a much better looking print, but I printed this 100mm sized one very fast (2hours 46 mins) and didn't enable Z lift,so I still have a few issues that slowing down and lift will solve, now I know it's going to work, I will print a bigger one!